Heirloom Tomato GaletteFeatured
August 23, 2023
by Jennifer
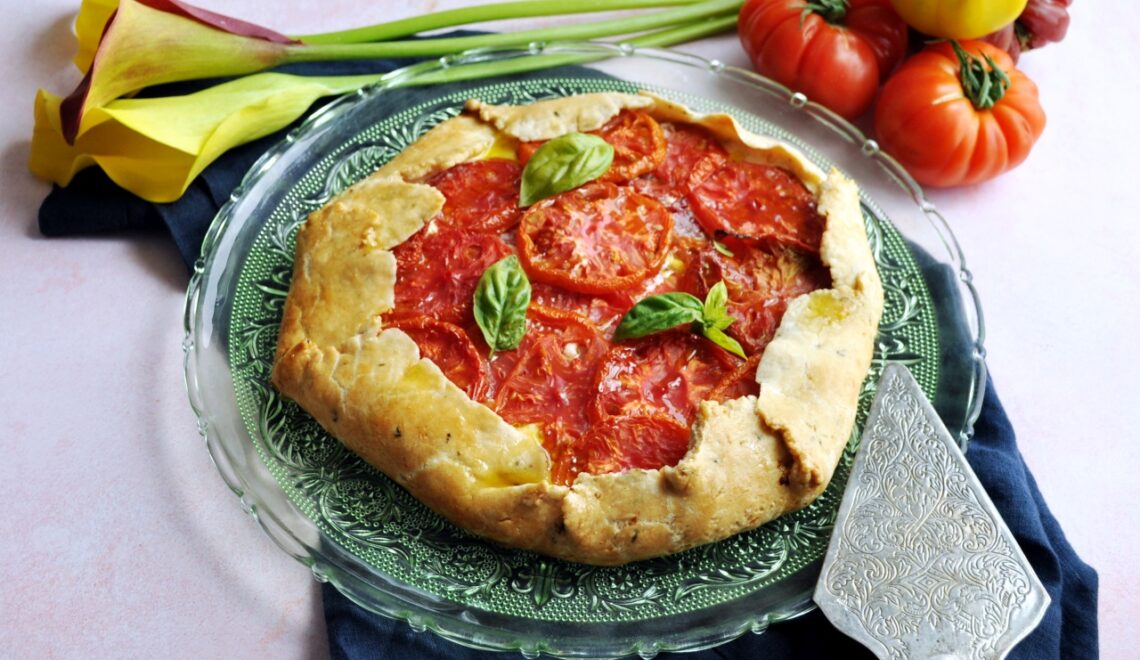
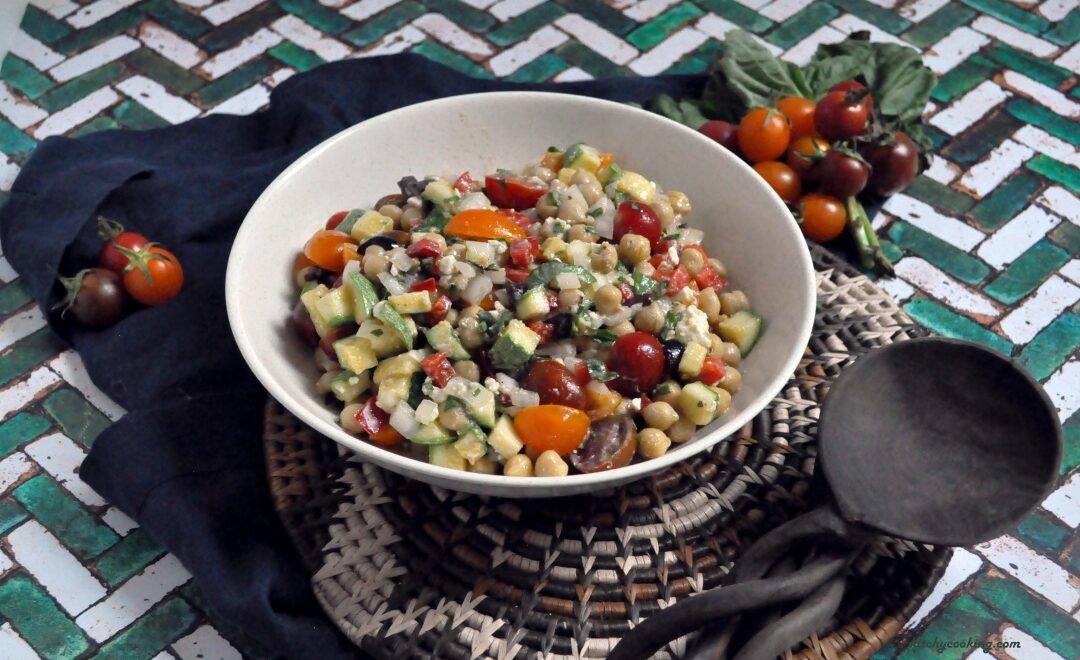
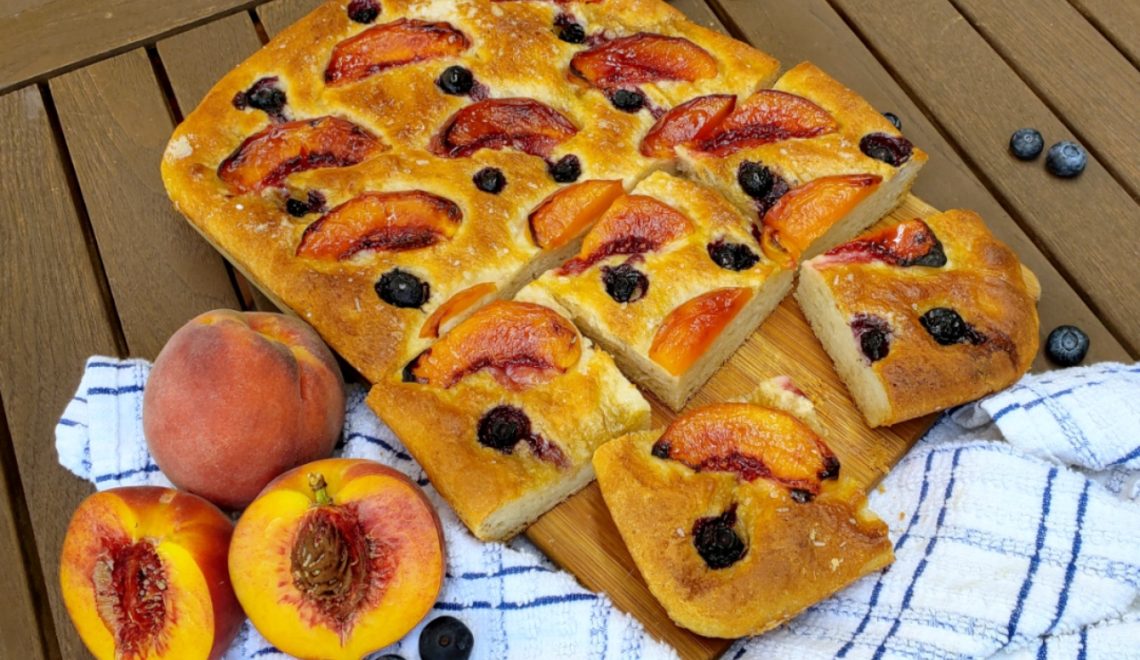
I love summer produce. As soon as the cherries appear at the farmers’ market, I know that apricots, peaches, and plums won’t be far behind. But those aren’t the only summer fruits I look forward to. I also love heirloom…
Read more